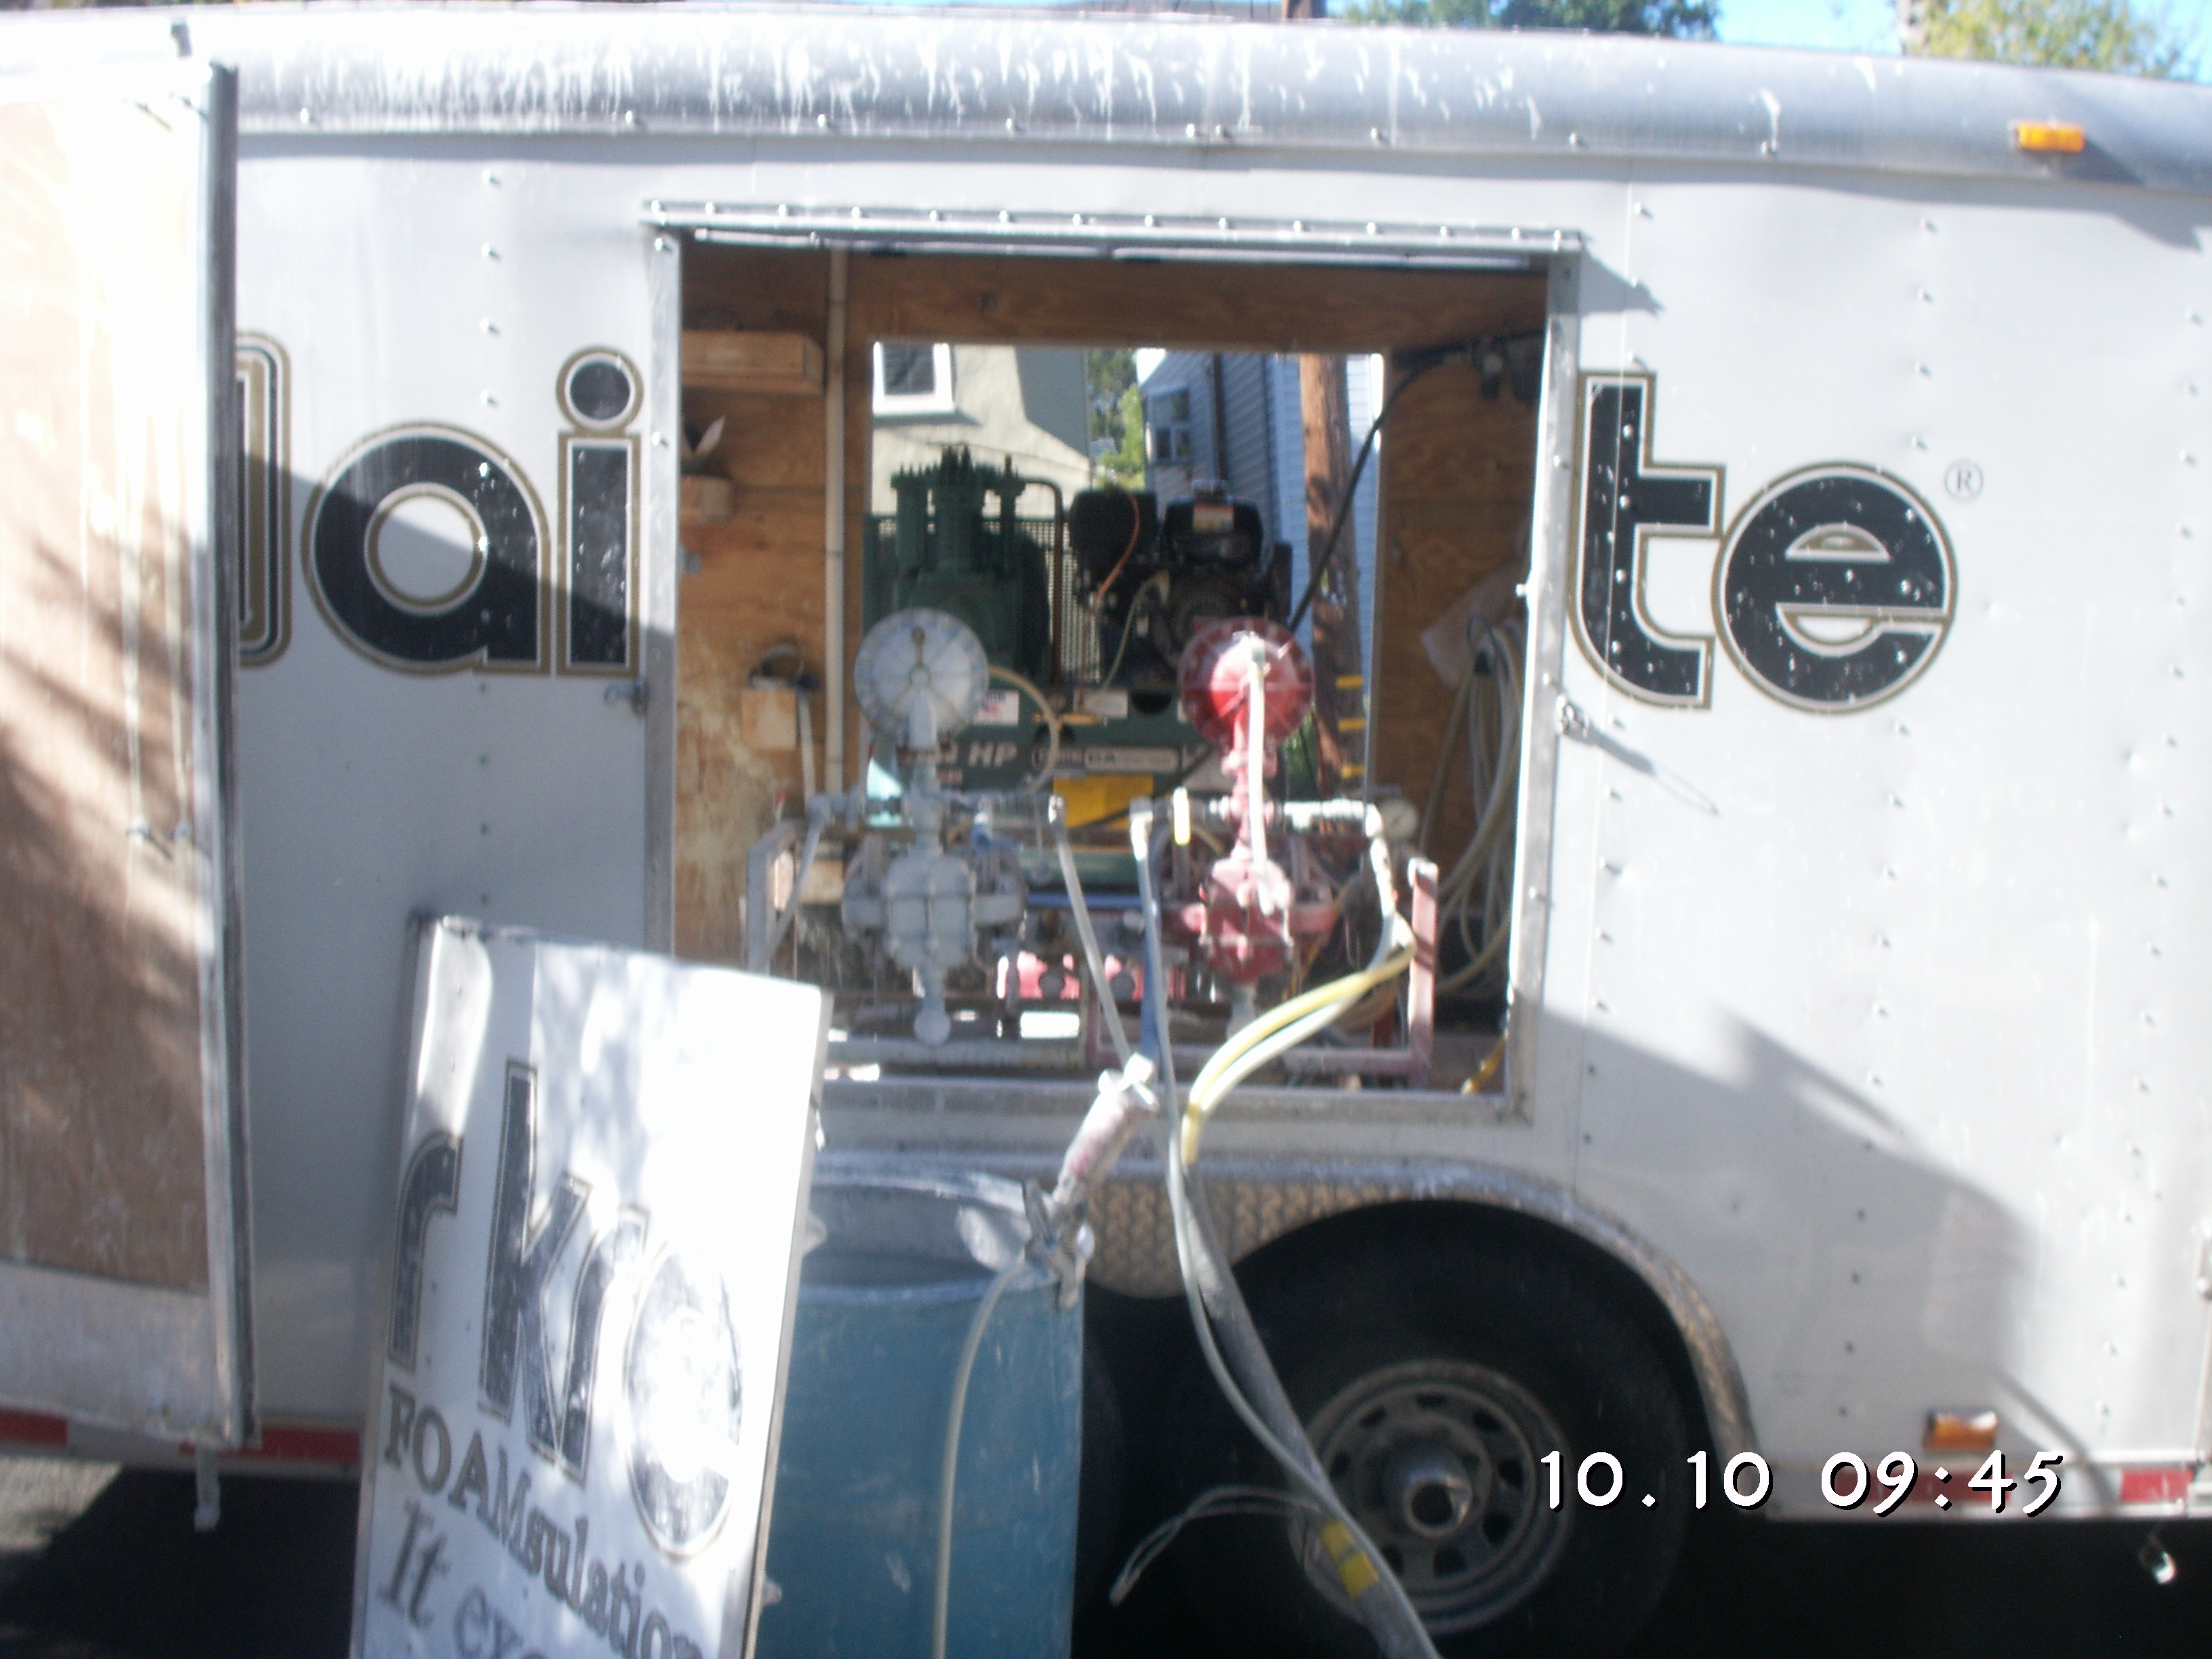
 By this point in the project we were running about a month behind schedule and with bad weather just around the corner, we couldnt afford any delays. Just before our insulation was scheduled to go in, disaster struck. Our local insulator's equipment broke down, it wasn't going to be repaired in time, and there were no other local providers for AirKrete. What could we do? Barbara found a company in Seattle that did AirKrete, and they were able to schedule a slot to send a truck down to do our job just in time! AirKrete is both environmental and economical, so even with the extra cost of having them come from so far, we decided to go with it. This was a tricky decision trying to weigh our costs & footprint against the benefits of using AirKrete .
 Air Krete primarily consists of magnesium oxide and water; it is blown in at a consistency like shaving cream, and then sets up to a solid after a little while. One of the big advantages of going with the Seatle-based installer is that they were able to put Air Krete both in the walls and in the ceiling. With the local installer, we could have used Air Krete only in the walls, so we would have had to go with fiberglass or cellulose in the ceiling. AirKrete everywhere was our definite preference so we decided to take the hit on this one. We have both had nightmare experiences with fiberglass and Barbara is biased against cellulose even though its considered very eco-friendly.

Before the insulation was blown in, we first put down Tyvek over the ceiling to protect the lath and plaster. Tyvek is similar in consistency to paper, but is a plastic substance that allows moisture to travel in one direction, but not the other. Barbara got right in there and helped put down the Tyvek so that the installers could get started with the AirKrete. Tyvek is theoretically recyclable.
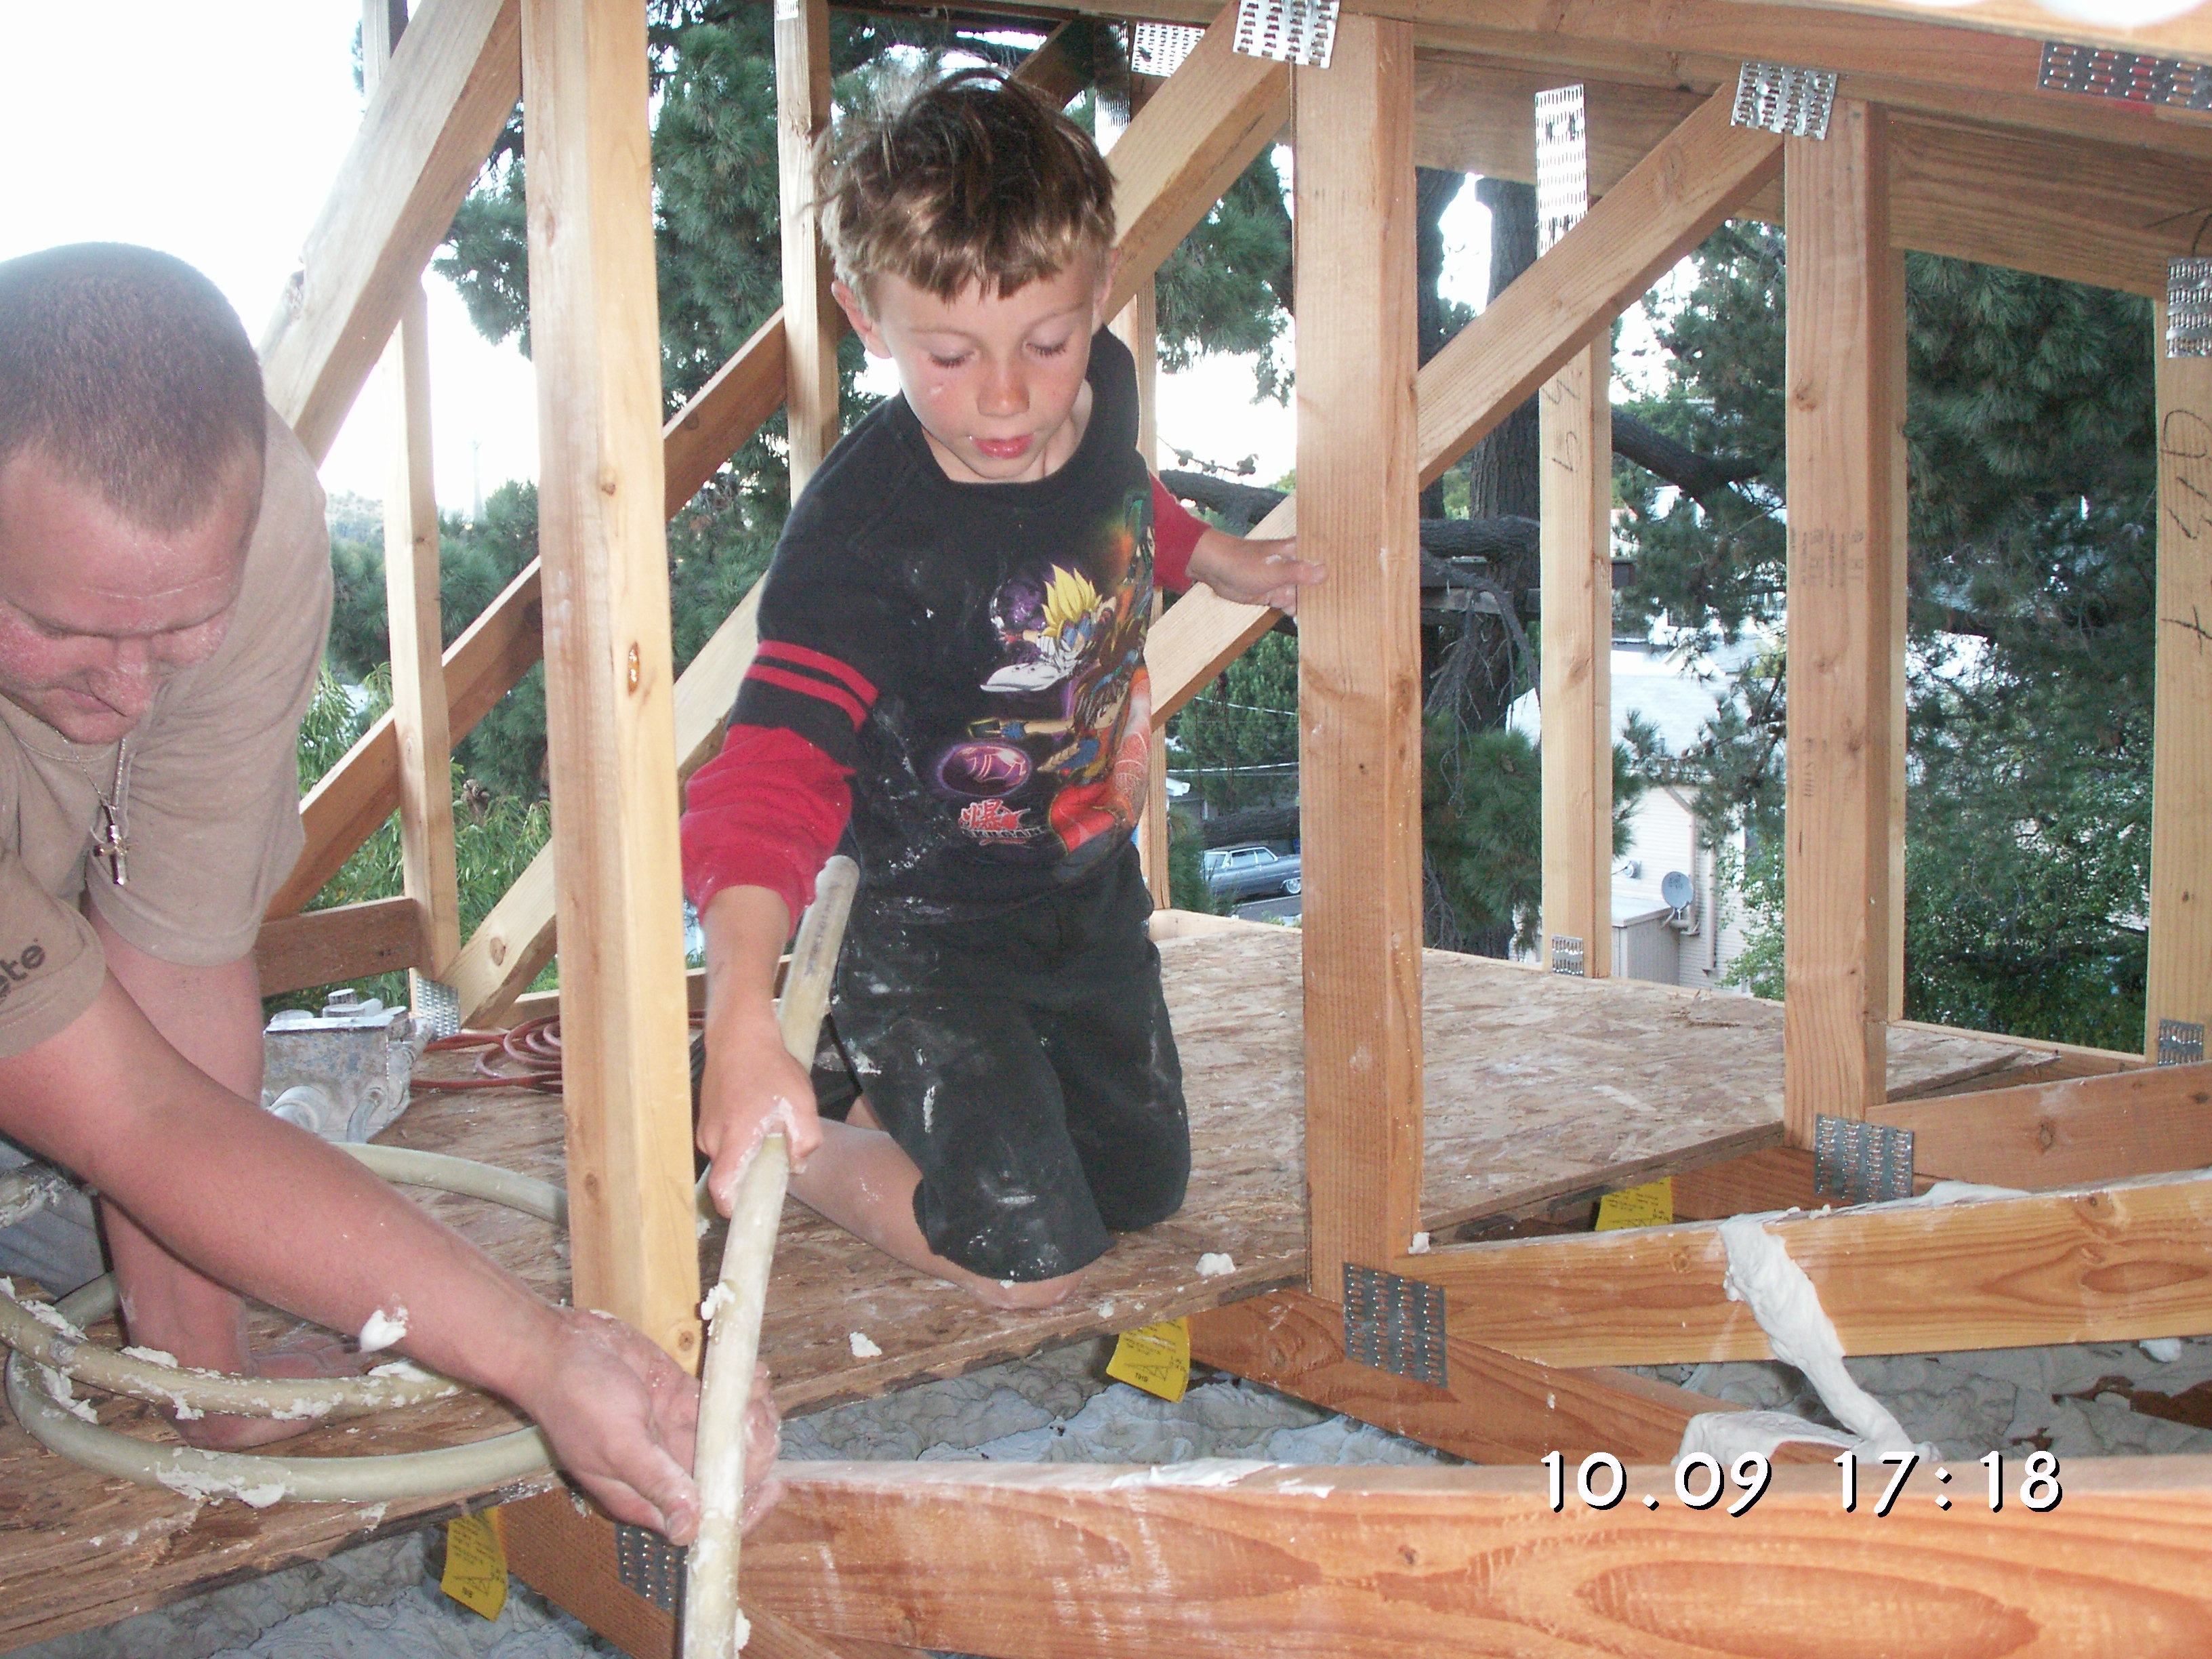
The installers were very friendly and accommodating; they even let Byron take a turn putting in our insulation. The AirKrete flowed out of the hose at a constant rate, so installation was a simple matter of aiming the hose in the right location and waiting until the right thickness of material had been laid down. Byron was really excited to get to help do it; in general, he was pretty excited about helping with any job that afforded him the opportunity to crawl around in the trusses.
 |
|

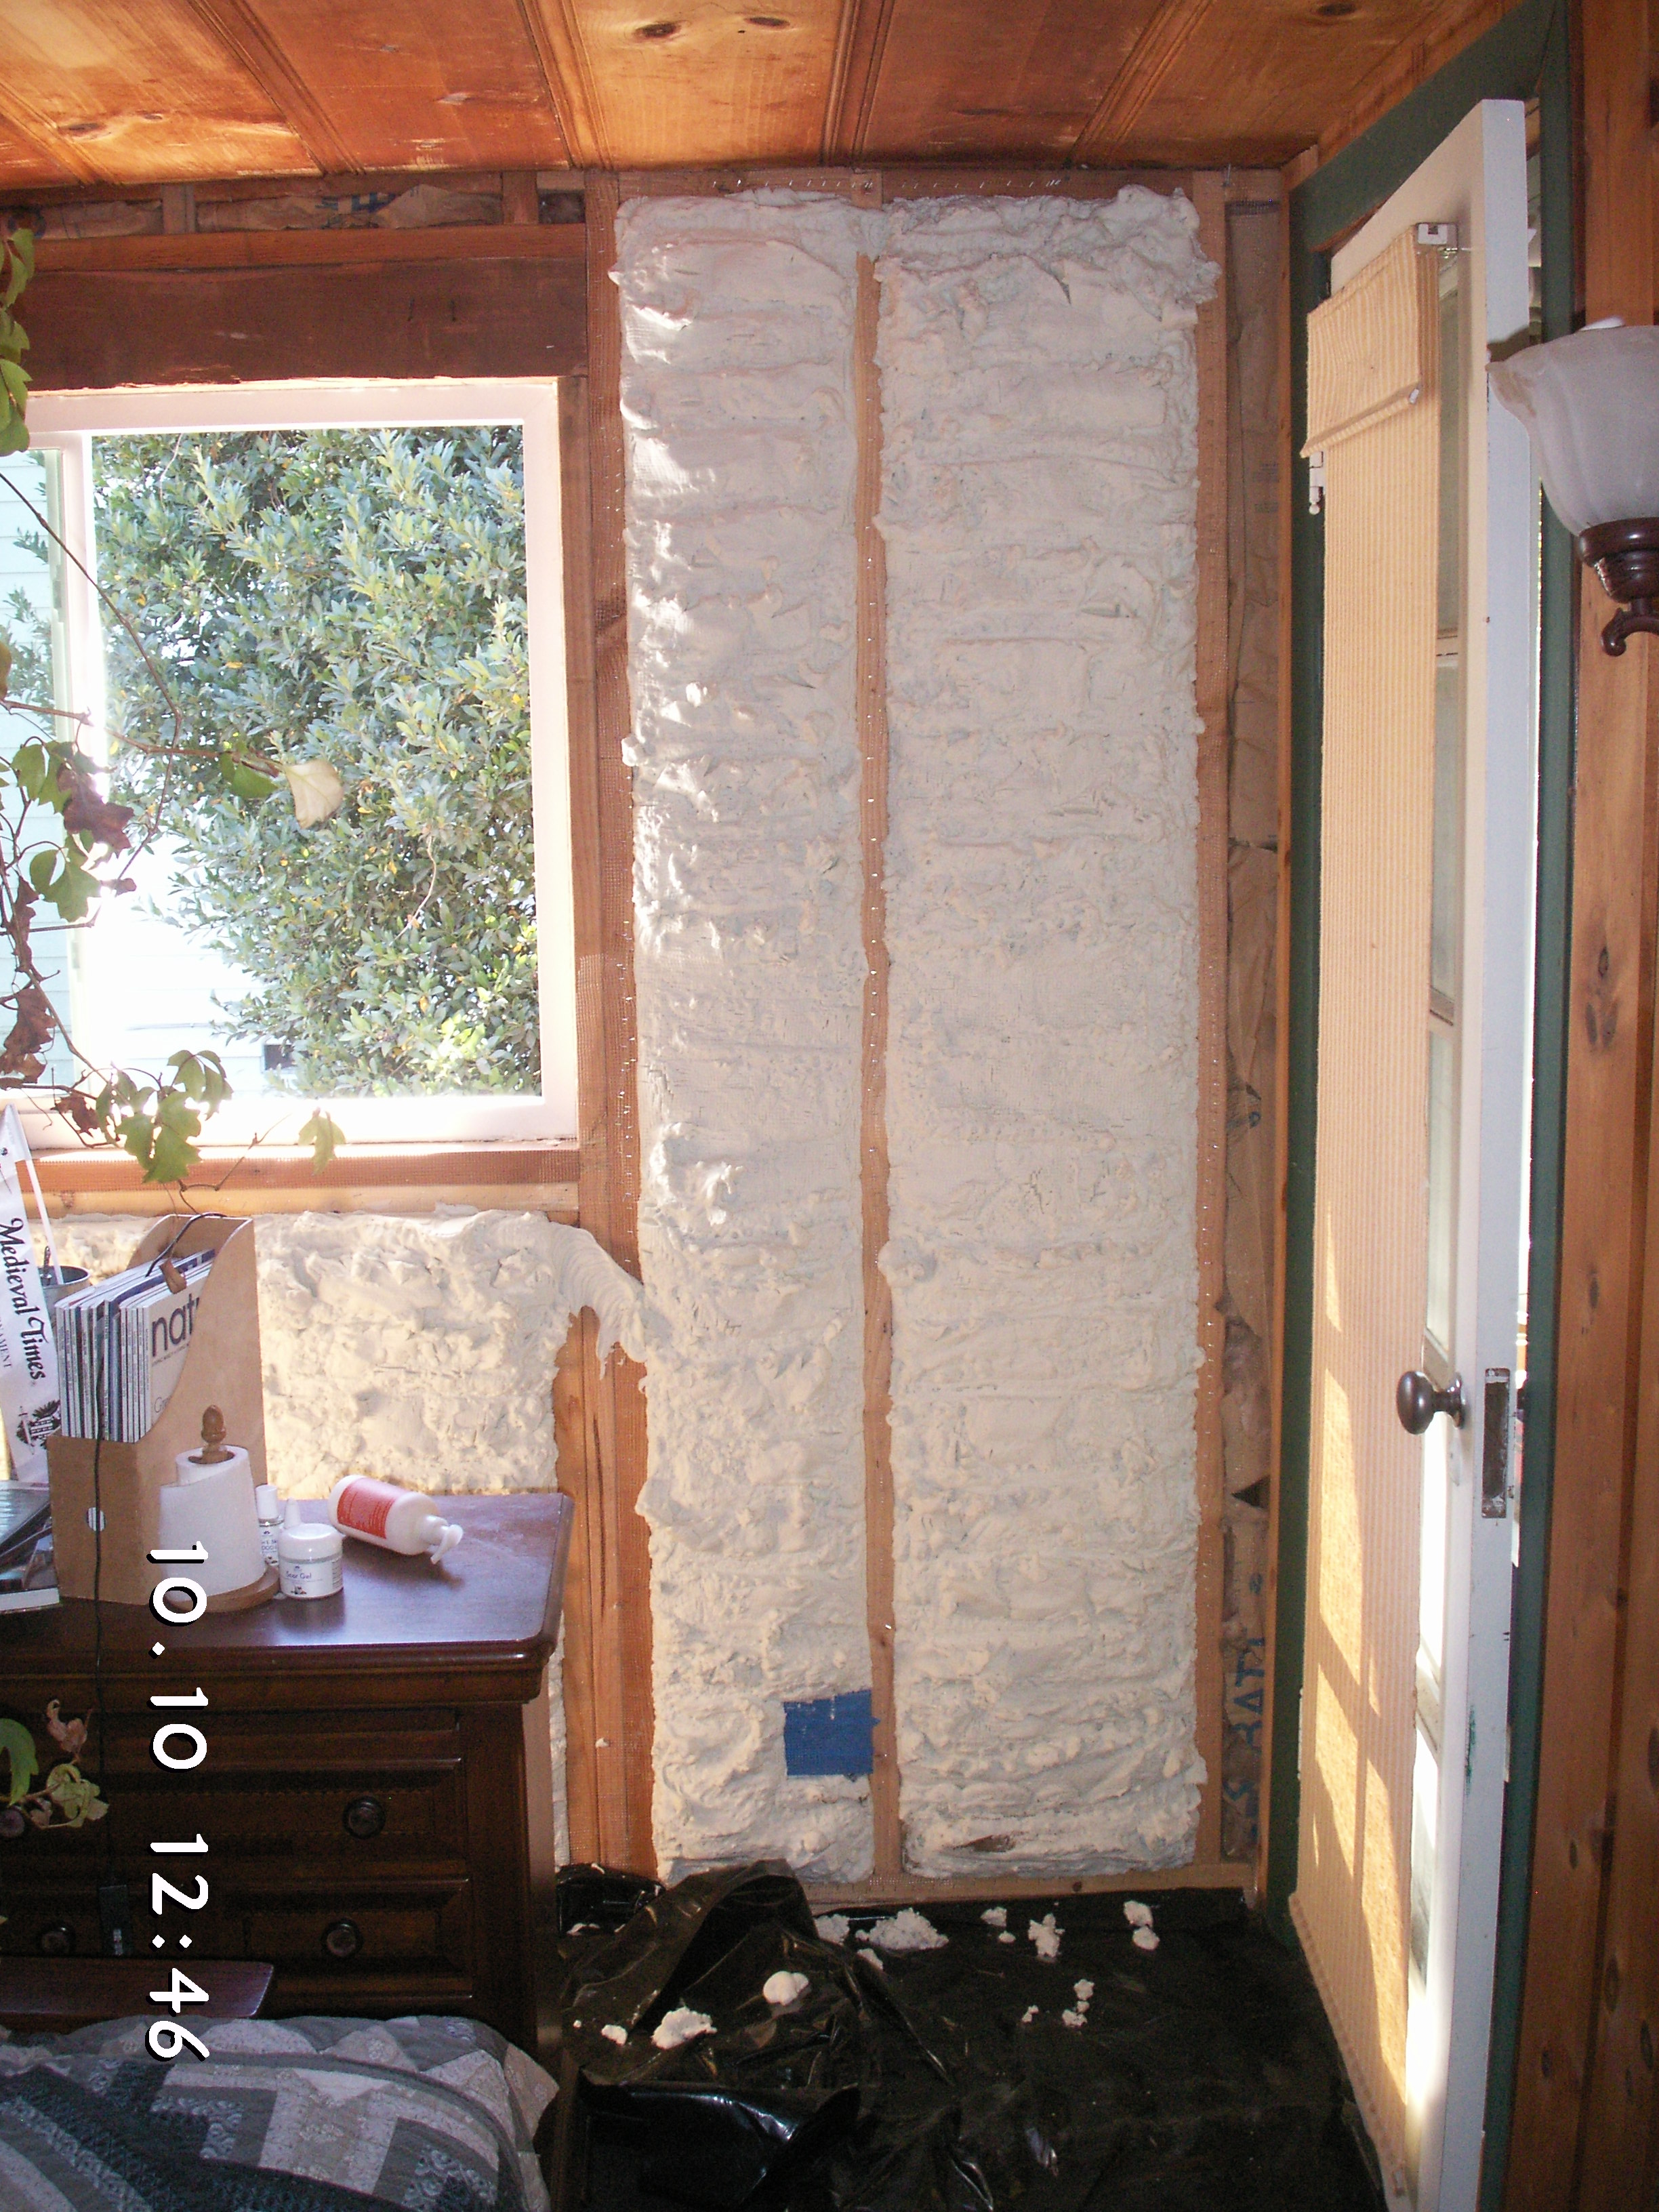
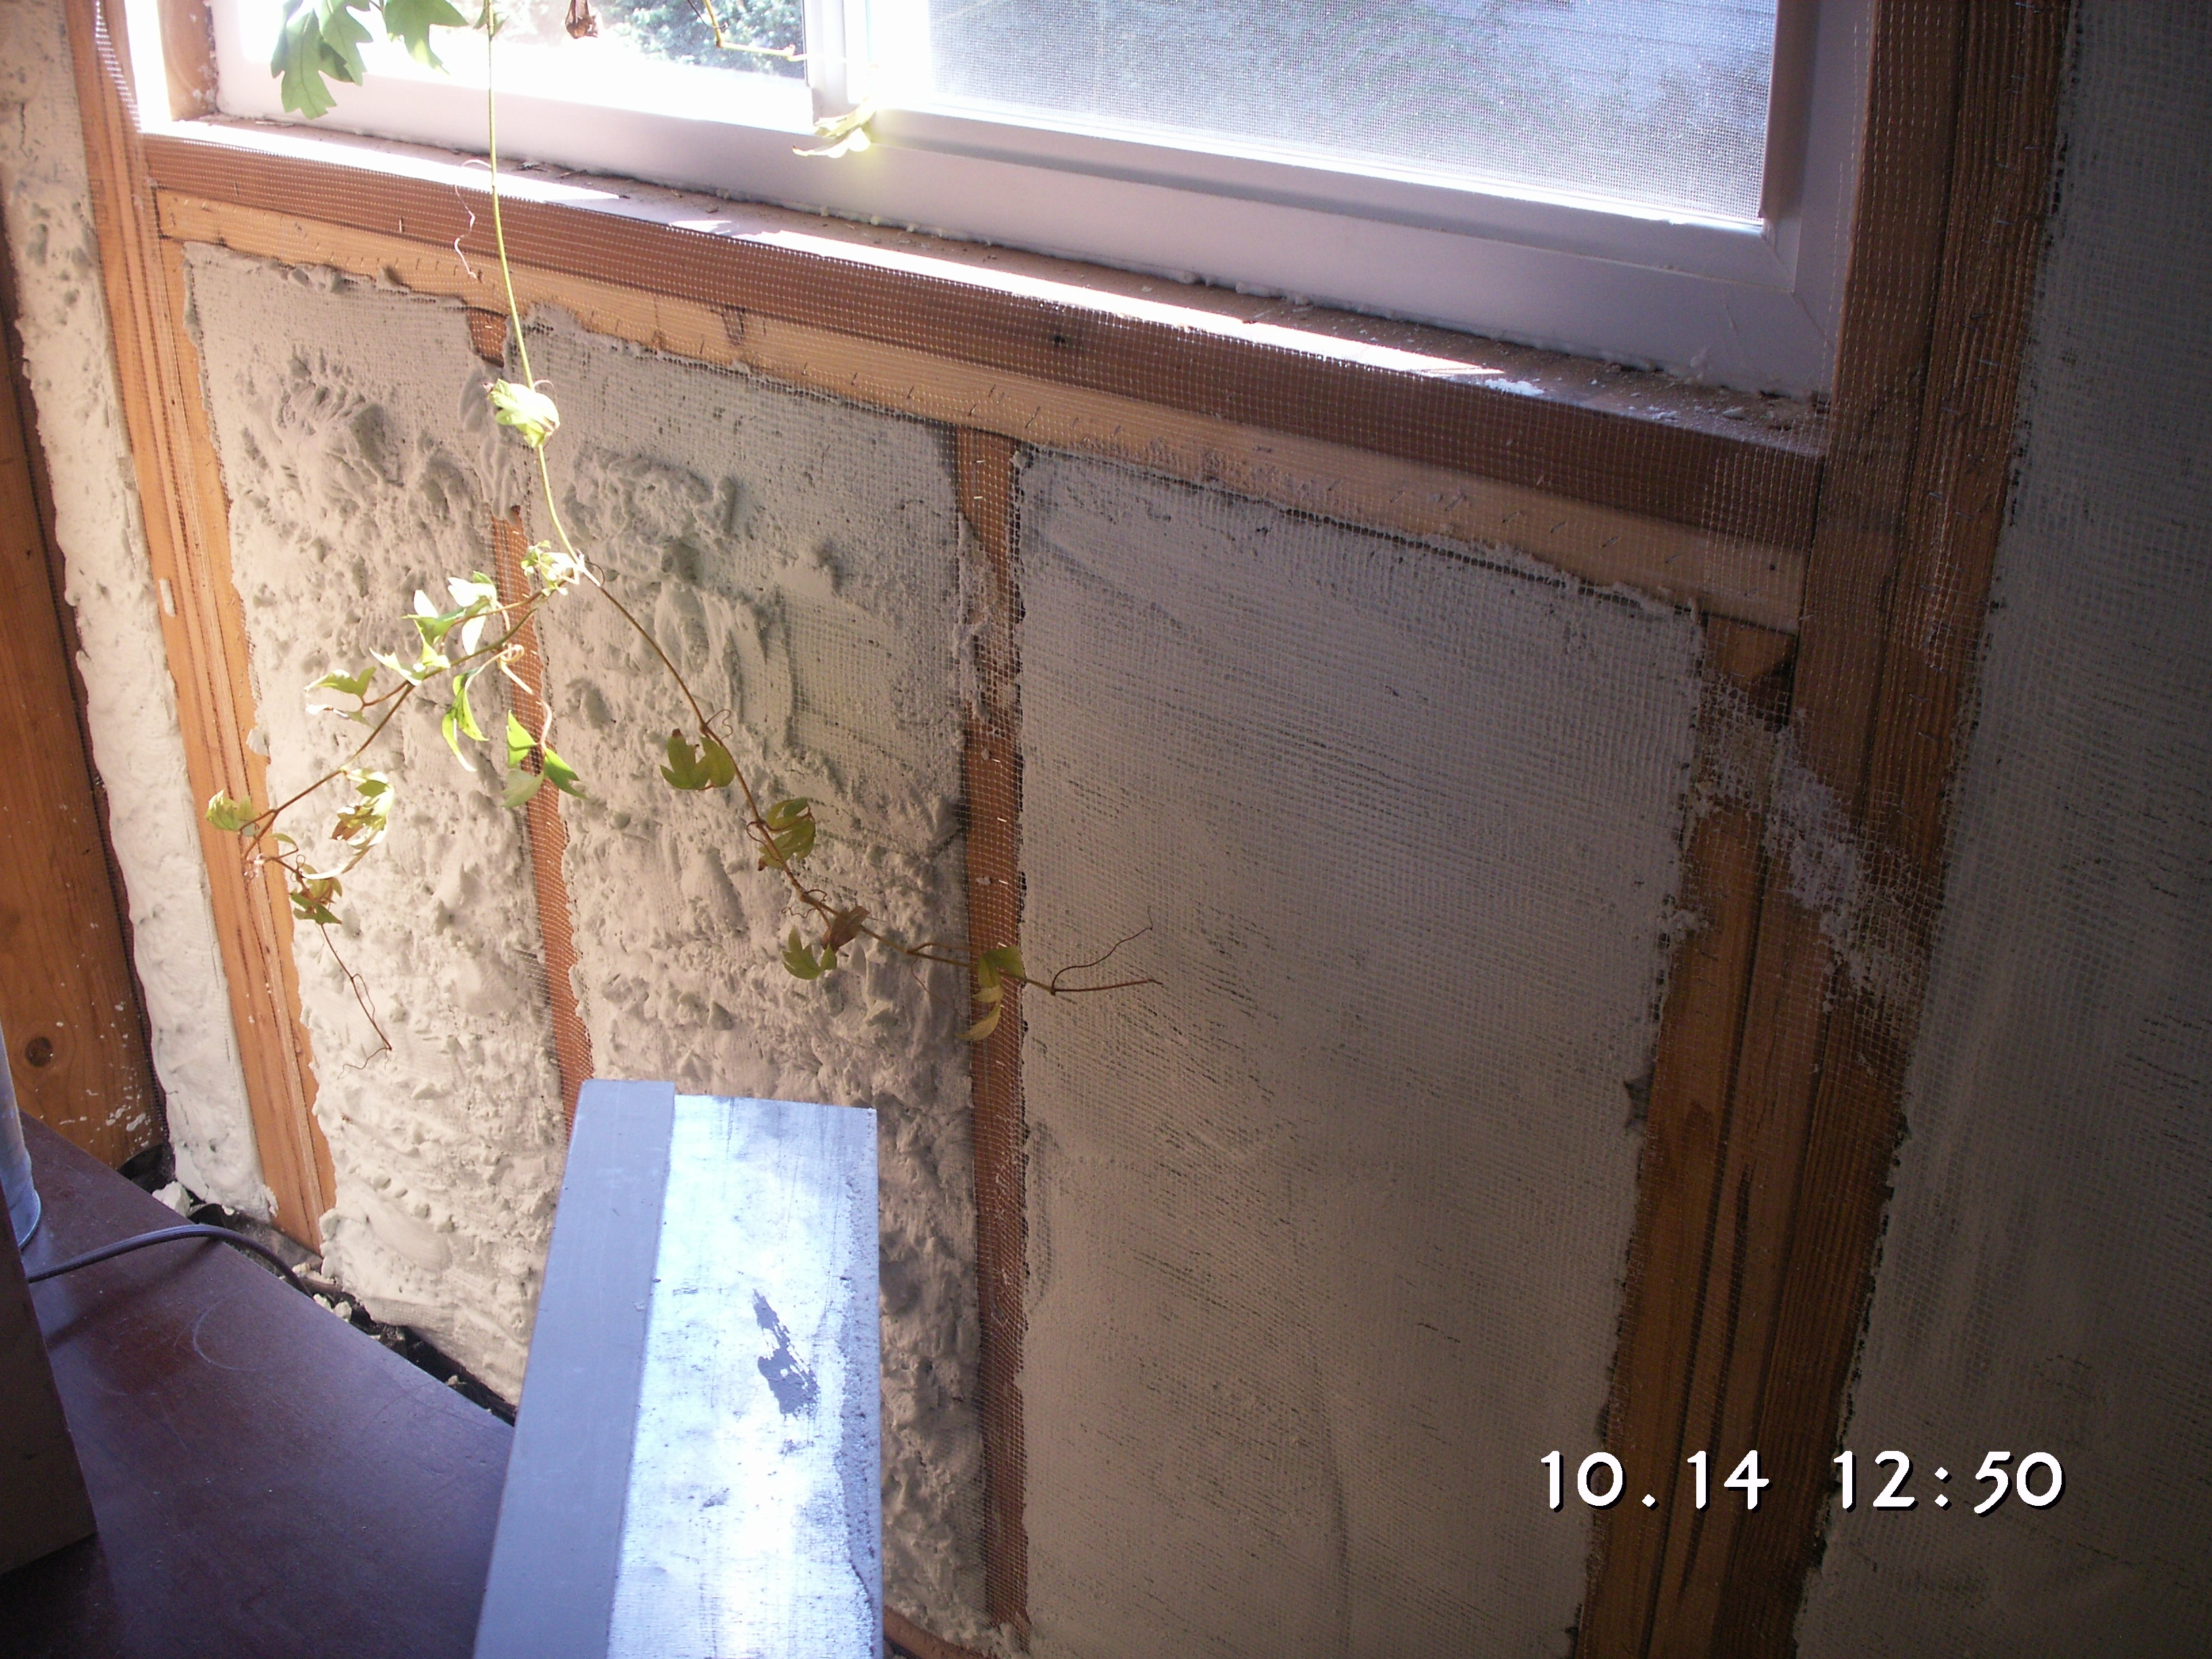
In the bedroom, we put in the AirKrete from the inside. To do this, the installers first put up netting, and then blew the Airkrete in through it. The AirKrete sets up around the netting, and can be scraped smooth after it is dry. It turns out that we could have also used this technique to put the AirKrete into all the walls before the sheer panel went up. That would have saved a lot of labor, because putting up the netting is easier than drilling holes in the sheer panel. It also would have been more beneficial in terms of drying. Unfortunately the sheer panel was already up by the time we switched to the Seattle crew.
 |  |  |
 The AirKrete installation took a lot longer than originally estimated, but other than that, it went in pretty much without a hitch. We did have a couple of places where it snuck in through a little crack in the plaster, such as this serving of AirKrete that we found on our cutting board. Fortunately, AirKrete is edible--although we did not try any to see how it tasted.
- Log in to post comments